
Hey there, fellow crocheters! If you've been scrolling through Pinterest lately, you've probably noticed that chunky, textured granny squares are having a serious moment. And honestly? I'm here for it. Today I want to walk you through one of the coziest and most visually striking motifs I've come across lately — the plush granny square with a floral center. Whether you're dreaming of a statement blanket, a boho pillow, or even a structured tote bag, this motif delivers that "handmade luxury" vibe we all crave.
Affiliate Disclosure: This post contains affiliate links. If you make a purchase through one of these links, I may earn a small commission at no extra cost to you. I only recommend products I genuinely love and use myself. Thank you for supporting Wool & Hook! 💛
What Exactly Is a Plush Granny Square?
The classic granny square is basically crochet royalty — it's been around forever and for good reason. But modern crocheters aren't content with just "classic." We're taking that beloved technique and pumping up the volume with chunky plush yarn, dimensional flower centers, and unexpected color combinations. The result? A square that looks like a tiny textile masterpiece.

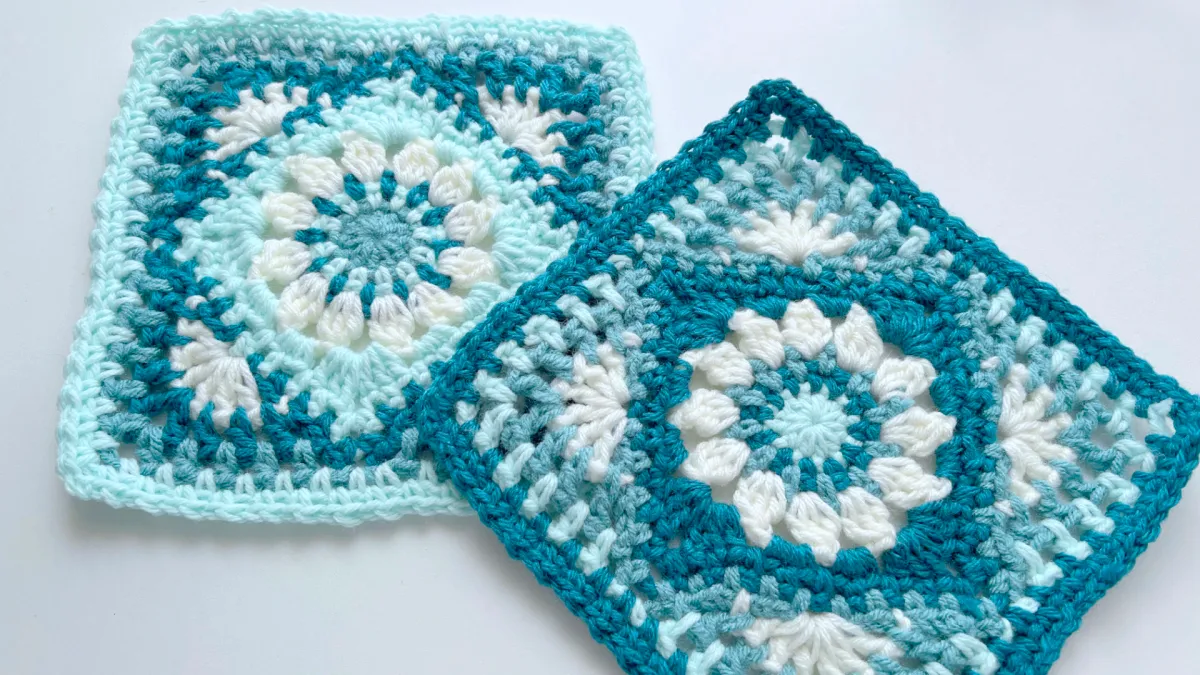
Look at that beauty above — dense, velvety texture, a raised floral center, and that gorgeous turquoise-to-navy gradient framed by a crisp border. This isn't your grandmother's granny square (no offense to grandmas — they're usually the ones who taught us!). The plush yarn gives it a 3D, almost cushion-like quality that makes it perfect for projects needing structure and softness.
Why This Pattern Deserves a Spot in Your Queue
1. It's deceptively simple. Despite the fancy look, the techniques are beginner-friendly. If you can chain, single crochet, double crochet, and treble crochet, you've got this. Everything else is just practice and patience.
2. Plush yarn does the heavy lifting. Using chenille or velvet-style yarn transforms an ordinary square into something that feels like a cloud. These motifs are perfect for baby blankets, sensory toys, or decorative pillows. Want a firmer result? Simply size down your yarn and hook.
3. Color play is endless. Go ombre, high-contrast, or monochrome — the floral center should pop, and the border should frame it like a picture. I love how the designer used a cool turquoise palette here, but imagine this in warm rusts and creams for autumn, or soft pastels for a nursery.
Materials You'll Need
To make one square approximately 6×6 inches (15×15 cm), gather:
- Plush/chunky yarn in 4 colors: main color (turquoise/aqua) ~13g, contrast (navy) ~5g, white ~3g, beige ~5g
- 4mm crochet hook — ideal for standard plush yarn weight
- Scissors and tapestry needle for weaving in ends
💡 Pro tip: To calculate total yarn for a full project, multiply the weight of one square by your total square count. A throw blanket (about 47×60 inches) typically needs 80–100 squares.
For a complete downloadable PDF with step-by-step photos, crochet charts, and a 37-minute video tutorial, check out this pattern:
This pattern by Anna Kuznietsova includes written instructions for every round, a full crochet chart, and video support — perfect if you're a visual learner or just want the confidence of a tested pattern.
Step-by-Step Technique Breakdown
Round 1 — The Magic Ring Center
Start with a magic ring and work 12 double crochets (dc) into the ring using white yarn. Pull the ring tight and join with a slip stitch. You'll have a solid little circle — the heart of your flower.
Round 2 — Petal Formation
Attach beige yarn. Work treble crochet clusters separated by chain spaces to create puffy petals around the center. This is where the dimension starts happening. Don't skip the corner increases — they're what transform the circle into a square shape.
Round 3 — The Contrast Transition
Switch to navy yarn. Work double crochets into the spaces between petals, creating a smooth bridge from flower to frame. Corners are worked as: 3 dc, ch 2, 3 dc — the classic granny square corner that keeps everything square and flat.
Round 4 — The Border Frame
Finish with your main turquoise color. One more round of double crochet clusters, increasing stitches along each side to maintain the square shape. The finished motif should lie perfectly flat with no curling or twisting.
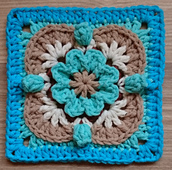
These variations show how the same motif shines in different color stories — from icy blues to warm earth tones. The floral center technique stays the same; only your palette changes the mood.
The #1 Beginner Mistake (And How to Fix It)
The twist. If your square starts spiraling like a cinnamon roll, you're not alone. The fix is ridiculously simple: turn your work after every round. Finish a round on the right side? Flip it over, attach your new color, and work the next round from the wrong side. This alternating direction keeps your square perfectly flat and symmetrical.
Project Ideas That Go Beyond the Blanket
Sure, a plush granny square blanket is gorgeous, but why stop there?
- Statement throw pillow — Two squares + a zipper-backed cushion cover = instant boho decor.
- Structured tote bag — Line with fusible interfacing, add a fabric lining and leather handles. The plush texture makes it look way more expensive than it is.
- Baby lovey or sensory blanket — Use baby-safe plush yarn and a smaller hook for a tighter weave.
- Coasters or trivets — Swap plush yarn for cotton and you've got functional kitchenware.
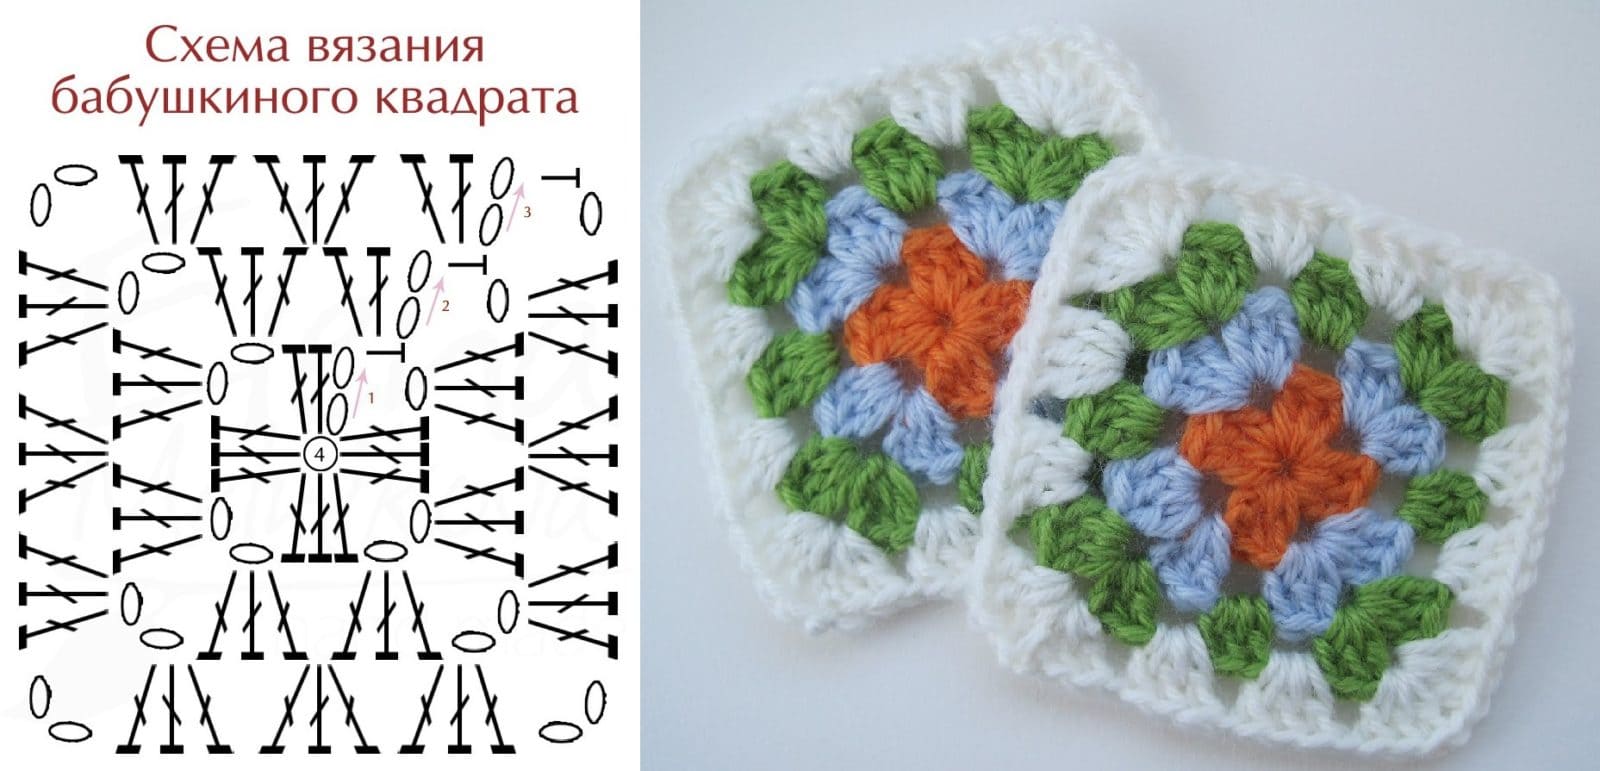
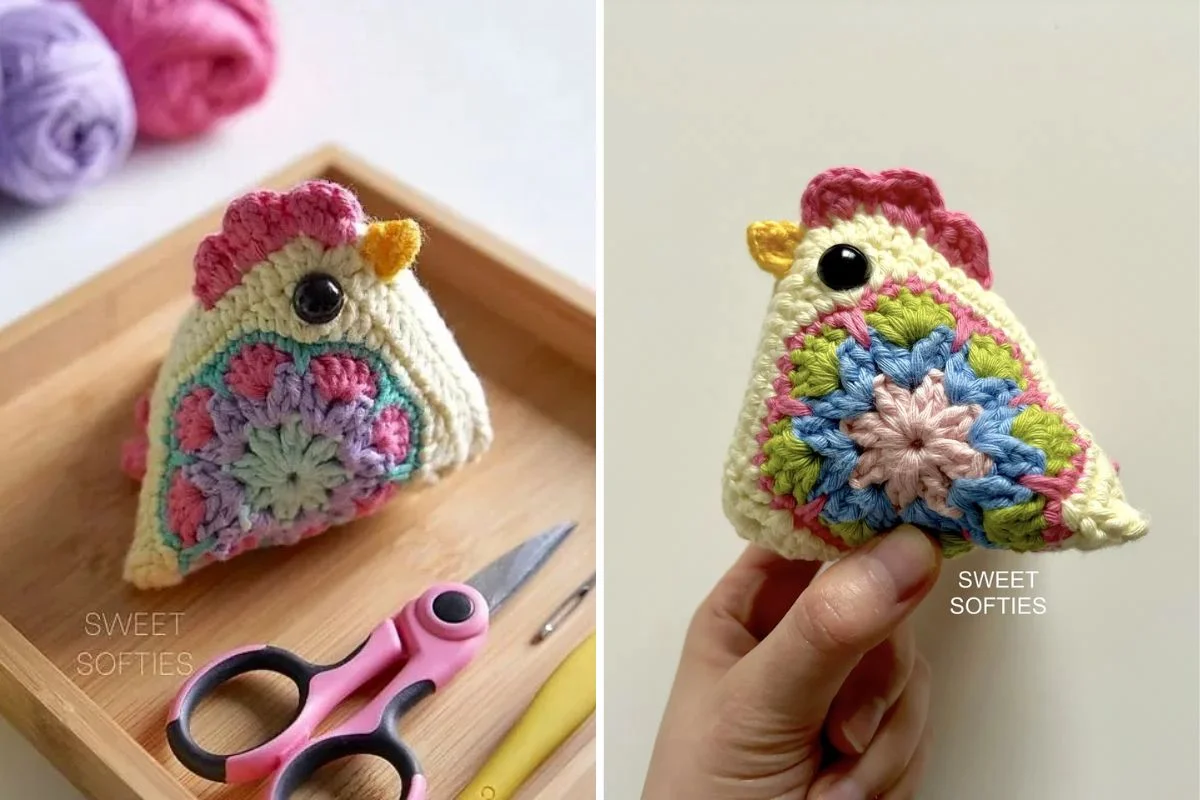
These classic granny square charts illustrate the logic of corner increases and side growth. Even if you've never worked motifs before, mastering the basic square first makes the plush floral version feel like a natural next step.
Joining Your Squares: The Make-or-Break Moment
Let's be real — joining is the least fun part of any granny square project. But you've come too far to quit now! Here are your options:
- Slip stitch join — Fast and creates a visible ridge between squares. Great if your final rounds are all the same color.
- Whip stitch (invisible join) — Slower but seamless. Ideal for multicolored squares where you don't want the joining yarn to show.
- Join-as-you-go — Crochet squares together while working the final round. Efficient and satisfying once you get the rhythm.
For chunky plush squares, I personally prefer the slip stitch method because the slight ridge adds to that cozy, quilted texture.
Where to Find More Inspiration
If you're ready to dive deeper into plush and chunky granny square techniques, search YouTube for "chunky granny square blanket tutorial" — there are fantastic free video guides that walk you through working with chenille yarn, which behaves a bit differently than standard acrylic. The stitches hide easily, so you'll develop a "feel" for where to insert your hook rather than relying on sight.
And if you want a complete, printer-friendly pattern with photos, charts, and video access, I highly recommend grabbing the full PDF:
It's designed for beginners, includes both US and UK terminology, and the video tutorial alone is worth the price if you're nervous about tackling your first plush project.
Final Thoughts: Slow Down and Enjoy the Process
Here's the thing about crochet — it's not a race. Each square is a tiny meditation session. The repetitive motion, the texture of the yarn, the gradual emergence of a flower from a simple circle — it's therapeutic. Don't stress about perfect tension or identical squares. Handmade means made by hands, and hands aren't machines. The slight variations are what make your piece uniquely yours.
So grab your hook, queue up a good podcast, and start stitching. I'd absolutely love to see what color combos you come up with — drop a photo in the comments or tag me on social media. There's nothing better than seeing how one pattern transforms into completely different works of art in different hands.
Before you go — if you're serious about making this project and want a pattern you can trust, here's that link one more time:
YOU MIGHT ALSO LOVE
Happy hooking! 🧶