This post contains an affiliate link. If you click, you can check out and purchase the Pineapple Slippers crochet pattern on Creative Fabrica. New users get 10 free downloads."
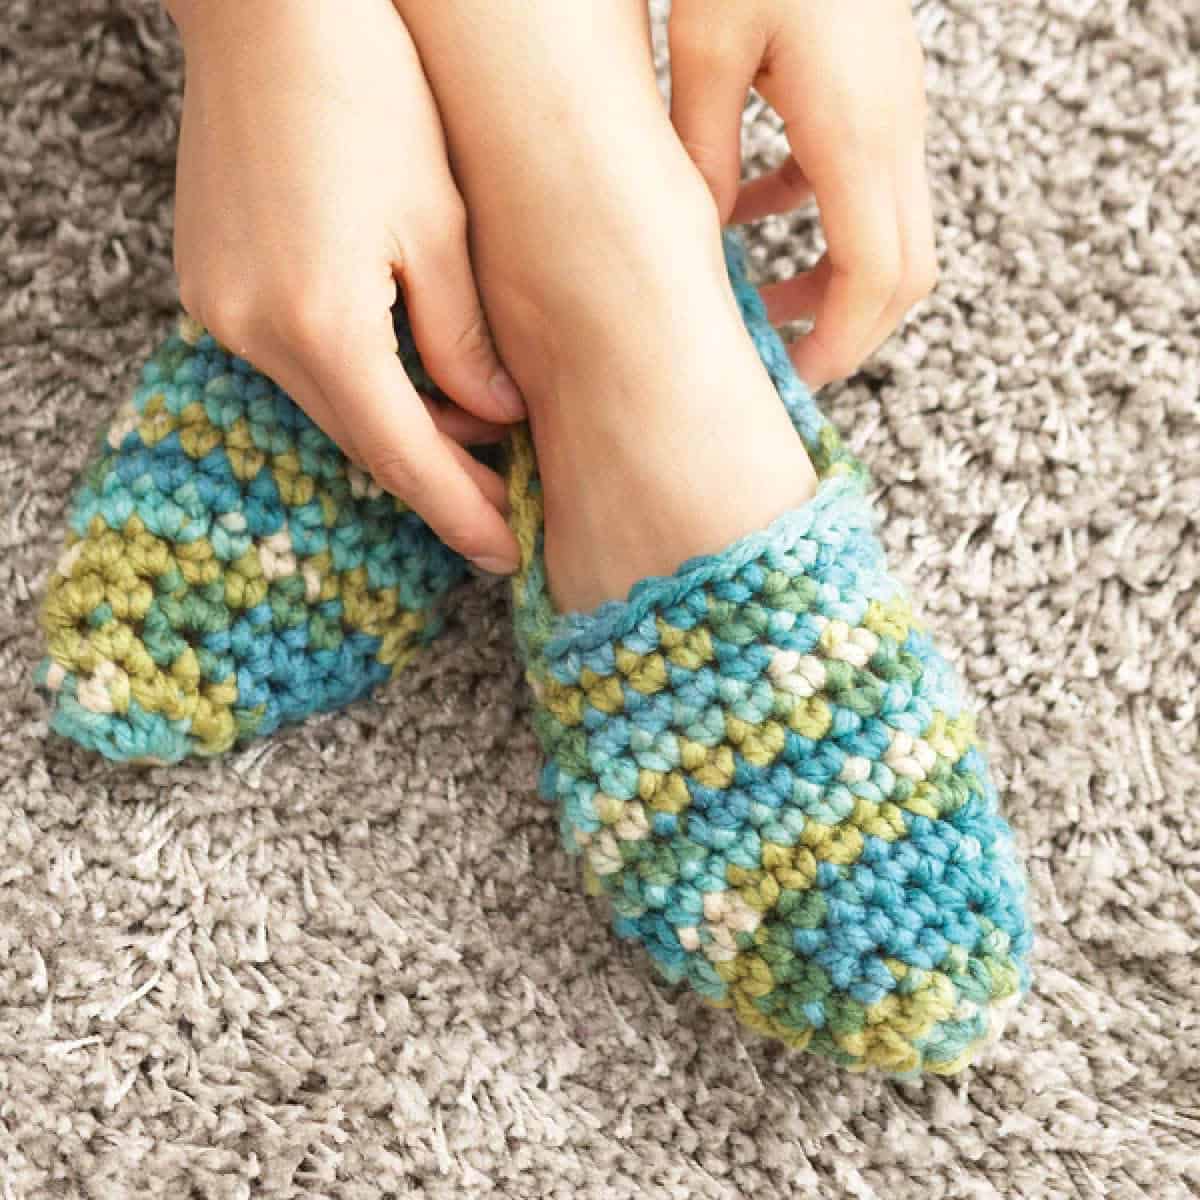
Chunky crochet slippers in oatmeal color, styled on a white wooden floor — cozy and inviting.Free Chunky Crochet Slipper Pattern for Beginners
My feet have not touched cold floor in two weeks. And it's not because I finally turned on the heating — it's because I made these slippers.
Remember that mountain of YarnArt Alpine I had left after the backpack? Well, I had about 80 grams sitting in a basket, judging me every time I walked past. Too little for another bag. Too much to throw away. So I did what any reasonable person would do at 9 PM on a Tuesday: I looked up slipper patterns.
I tried three free patterns online. First one came out shaped like a banana. Second one had a hole where my pinky toe poked through. Third one was so tight I couldn't get my foot in. So I did my usual thing — frankensteined my own from the best parts of all three, tweaked the toe shape, added a proper sole, and boom. Coziest thing I've ever made.
What You'll Need
Everything for chunky crochet slippers — super bulky yarn, 8mm hook, scissors, and a tapestry needle. Nothing fancy.
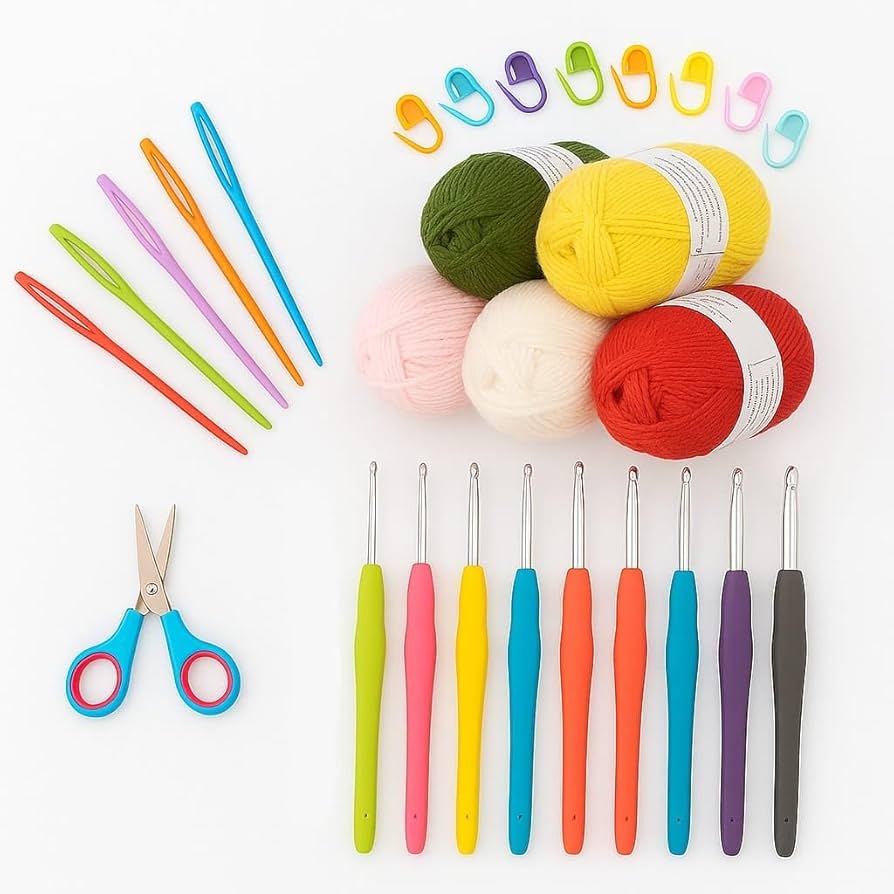
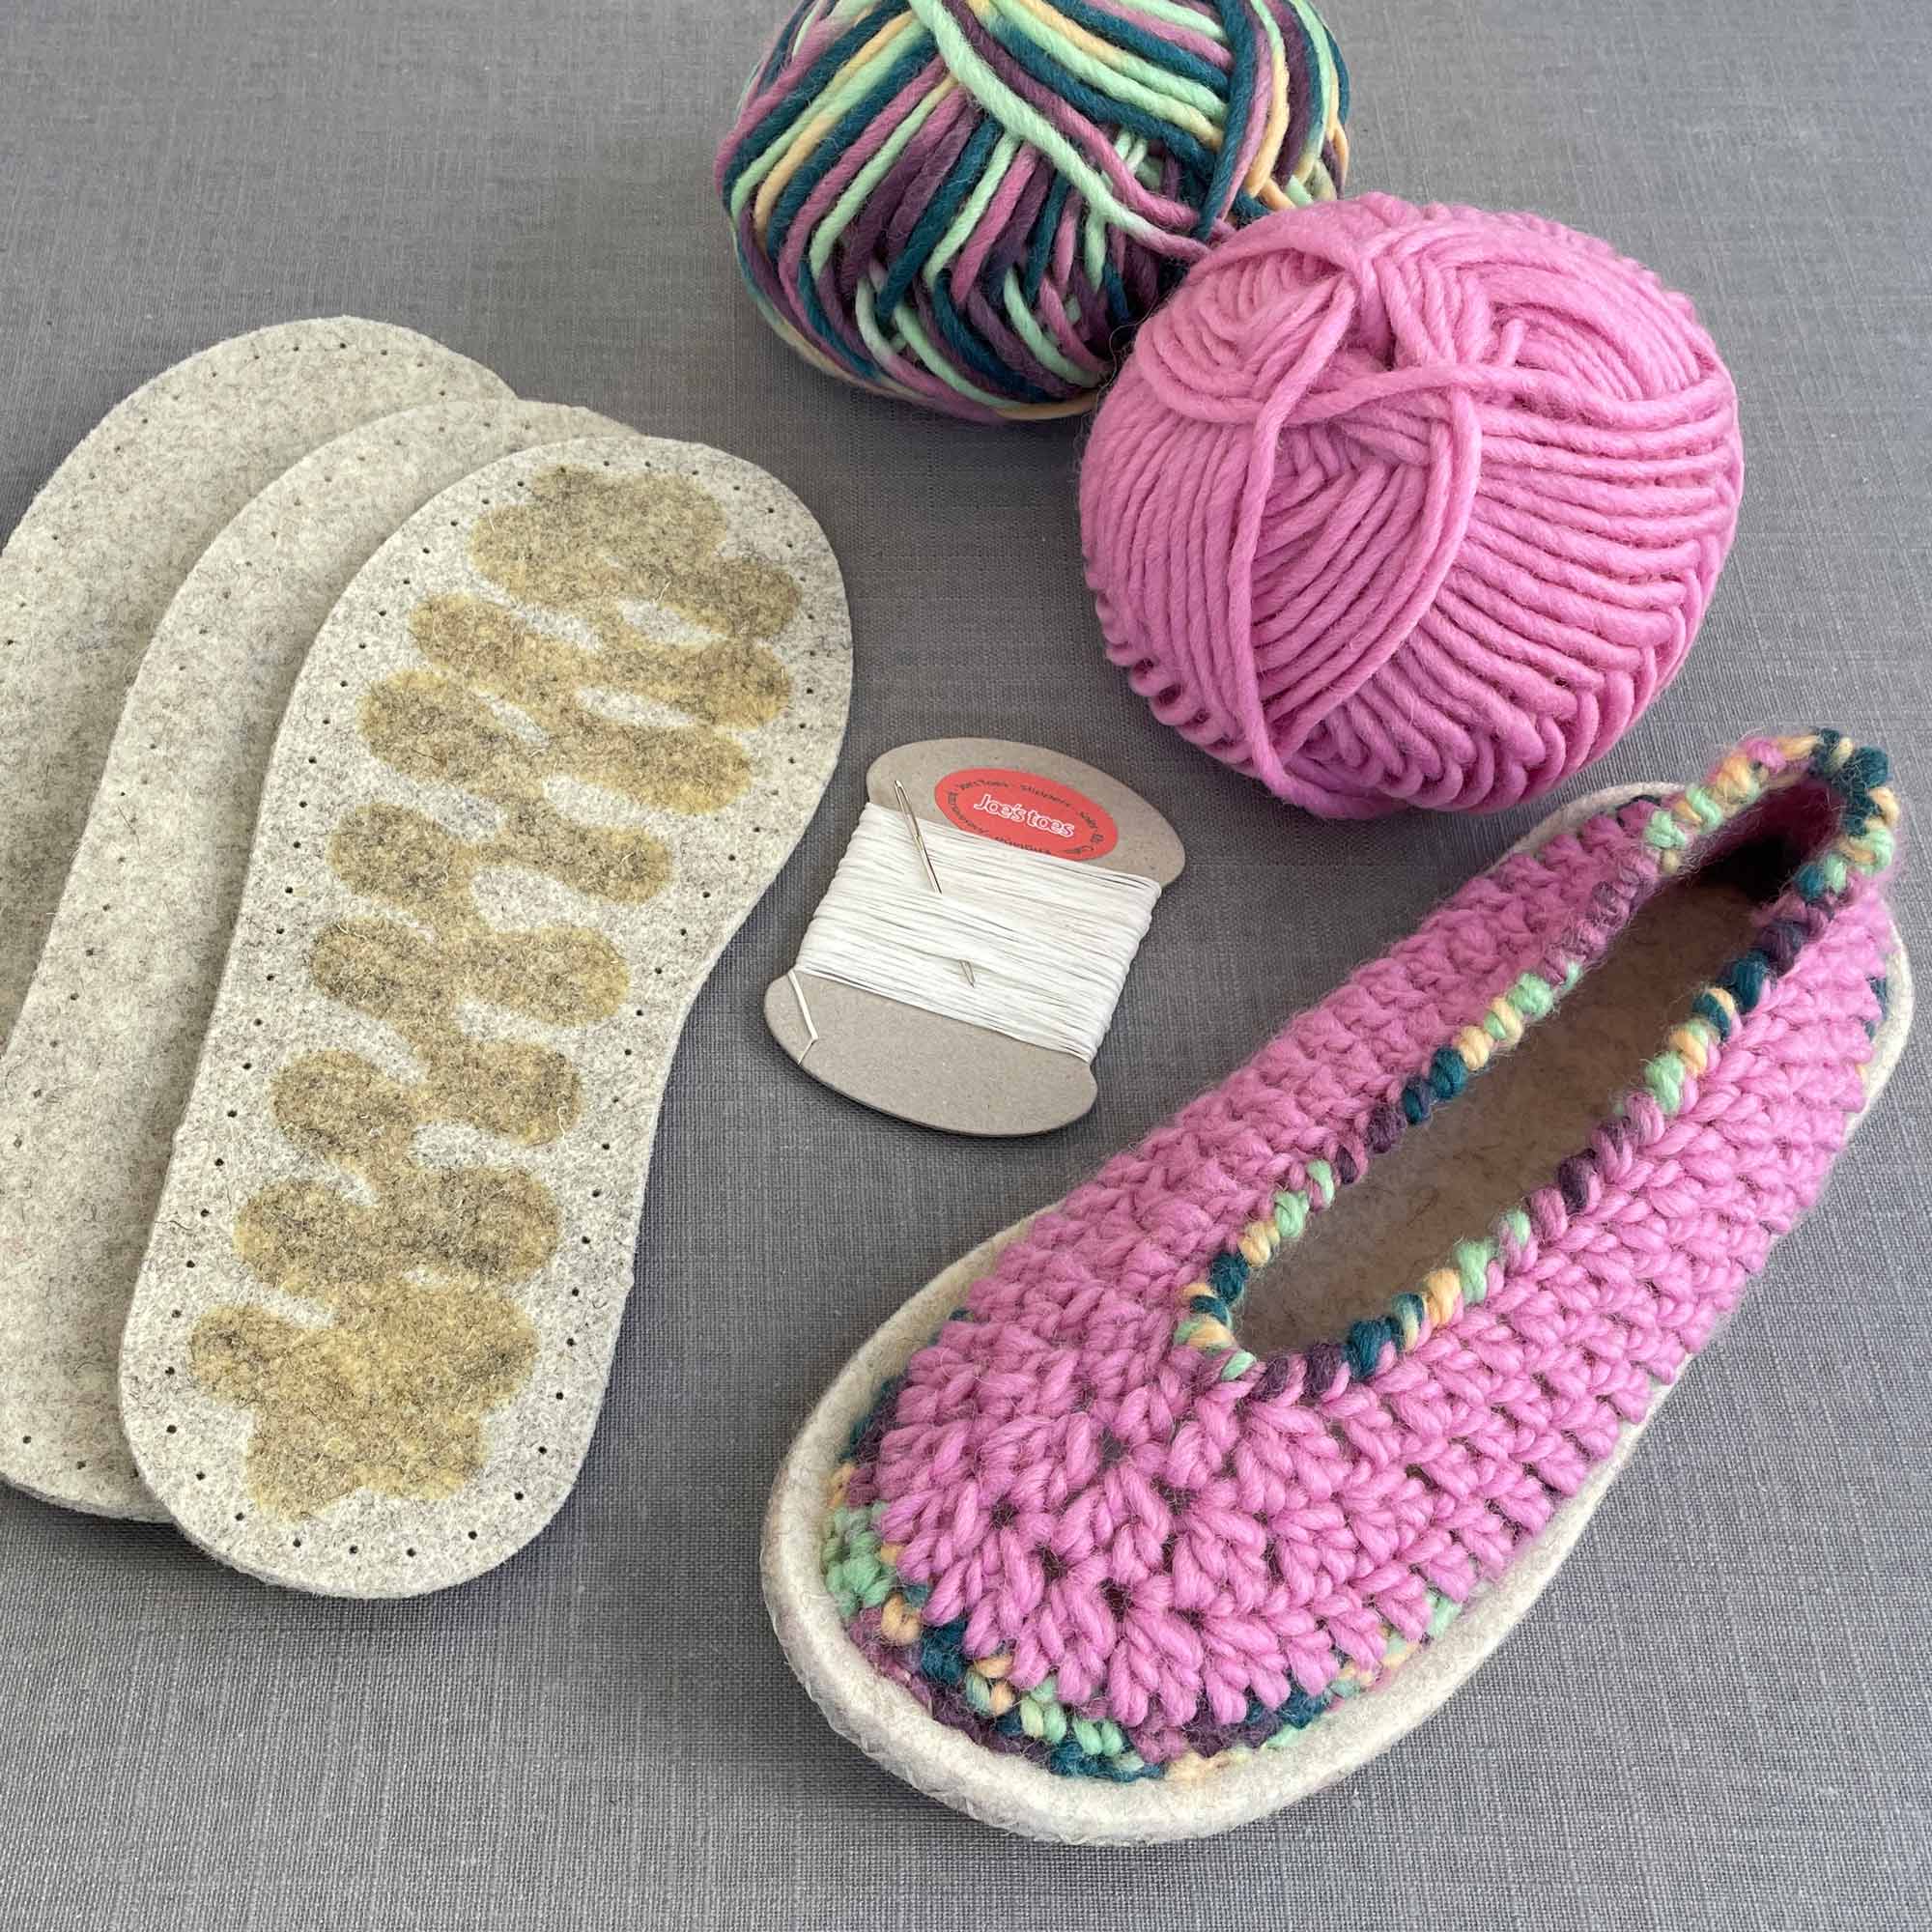
- Yarn — 80-100g super bulky weight (Category 6). I used YarnArt Alpine in "Oatmeal." Any chunky yarn works. Acrylic or acrylic blend is best — holds shape, machine washable, and if you step in a puddle you won't cry.
- Hook — 8mm. Same as the backpack. Consistency is key.
- Scissors — regular ones.
- Tapestry needle — big eye. You'll sew the sole closed, so yes, you need it.
- Stitch marker — scrap of yarn. I use the same neon pink piece from the beanie. It's seen things.
About the yarn: Don't use 100% wool for slippers unless you enjoy hand-washing things that touch your feet. Go with acrylic or a blend. I learned this the hard way with my first pair — pure wool, felted after two washes, now they fit my 5-year-old nephew.
The Pattern
Fair warning: I don't count stitches perfectly. My tension changes when I'm watching a tense scene in a show. These slippers still fit. So don't panic.
The Sole (worked flat, then joined)
This is the foundation. Get this right and everything else is easy.
- Chain 12 (for women's size 7-8 / EU 38-39). For smaller feet, chain 10. For larger, chain 14.
- Row 1: Sc in 2nd chain from hook, sc in each chain across. 11 sc.
- Row 2: Chain 1, turn. 2 sc in first stitch, sc in each stitch across, 2 sc in last stitch. 13 sc.
- Row 3: Chain 1, turn. Sc in each stitch across. 13 sc.
- Rows 4-10: Repeat Row 3. You're making a rectangle with rounded ends.
At Row 10, wrap it around your foot. It should cover from your heel to the ball of your foot. Too short? Add rows. Too long? Frog back.
Round the toe: Sc around the entire rectangle, working 3 sc in each corner stitch to round it. Don't cut yarn.
The Sides (worked in rounds)
Now it starts looking like a slipper.
- Round 1: Sc in each stitch around the sole. Place marker in first stitch.
- Rounds 2-6: Sc in each stitch around. That's it. Just go around and around.
At Round 4, try it on. The sides should come up to about mid-foot. Want them higher? Add a round or two. I like them at 6 rounds — covers enough to stay warm, low enough to slip on without hands.
The Toe (decrease rounds)
This shapes the front so your toes don't slide out.
- Round 7: Sc in next 4 sts, sc2tog. Repeat around.
- Round 8: Sc in each st around.
- Round 9: Sc in next 3 sts, sc2tog. Repeat around.
- Round 10: Sc in each st around.
- Round 11: Sc in next 2 sts, sc2tog. Repeat around.
- Round 12: Sc2tog around until hole closes.
Cut yarn, thread through remaining stitches, pull tight. Weave in end.
The Heel (separate piece, then attached)
I tried crocheting the heel in one piece with the sole. It came out lumpy and my heel sat on a ridge. Never again.
- Chain 8.
- Rows 1-6: Sc in each stitch across. Chain 1, turn. Simple rectangle.
- Fold in half — this is your heel cup.
- Sew to the back of the slipper using whip stitch. Match the bottom edge to the sole, the sides to the side rounds.
Important: Sew through both layers of the heel piece and into the slipper. This makes it sturdy. I skipped this on my first pair and the heel flapped open like a mouth.
The Non-Slip Sole
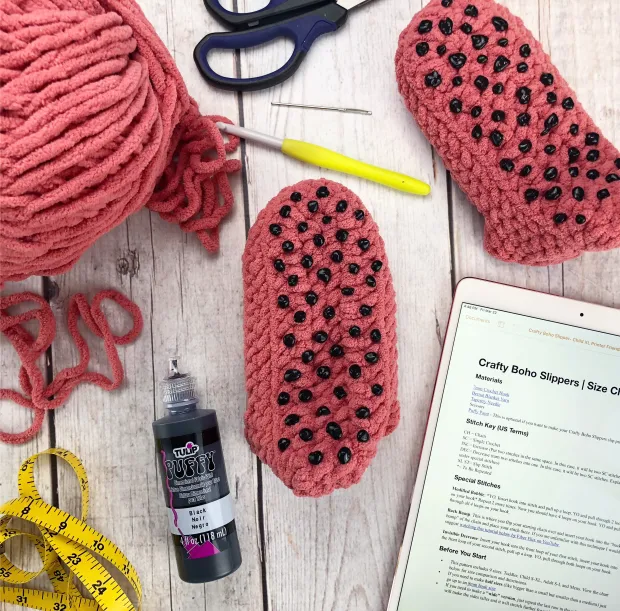
Puffy paint dots on the bottom of crochet slippers — cheap, effective, and machine-washable.
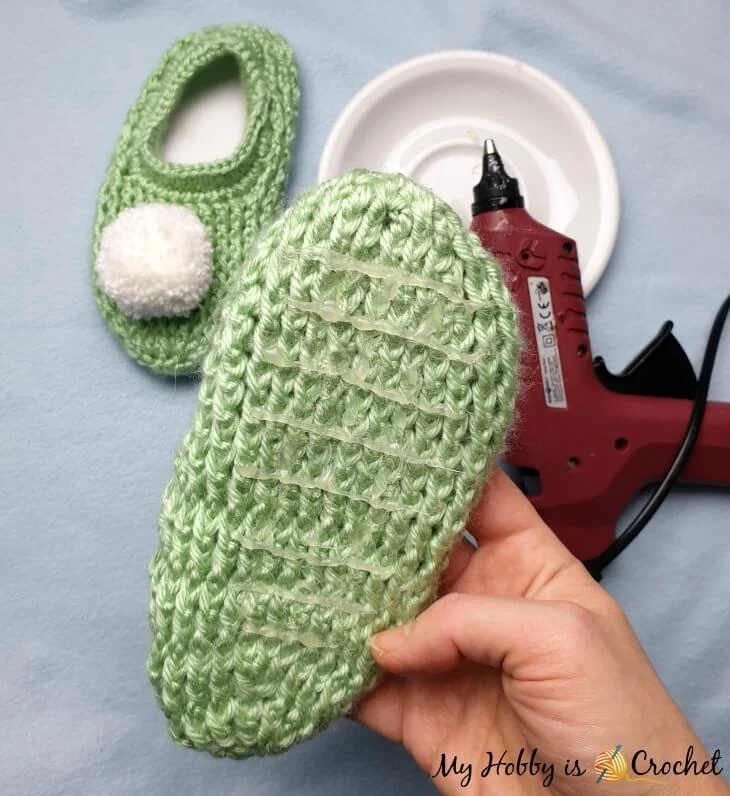
Crochet + smooth floor = ice skating. I learned this the hard way when I slid across my kitchen reaching for the kettle.
Solution: Puffy paint. The fabric kind, from the kids' craft section. About $2.
- Turn slipper inside out.
- Make dots or lines on the sole with puffy paint.
- Let dry for 24 hours. Seriously. I got impatient at 12 hours and the dots smeared.
- Turn right side out. Done.
Alternative: Sew on suede patches (from old jacket or buy pre-cut). Looks fancier, lasts longer. I did this on my second pair — used a piece of my husband's old suede elbow-patch jacket. He still doesn't know.
Sizing (Real Talk)
Table
| Who | Sole chain | Sole rows | Side rounds |
|---|---|---|---|
| Kid (size 10-13) | 8 | 8 | 4 |
| Teen/Women small (5-6) | 10 | 9 | 5 |
| Women average (7-8) | 12 | 10 | 6 |
| Women large / Men small (9-10) | 14 | 11 | 7 |
| Men average (11-12) | 16 | 12 | 7 |
My husband is a size 11. I made him a pair in navy blue with suede soles. He wears them every morning while making coffee. Says they're "acceptable." From him, that's a 5-star review.
When Things Go Wrong
Left — my first attempt with a hole at the toe and lumpy heel. Right — the final version that actually stays on my foot.
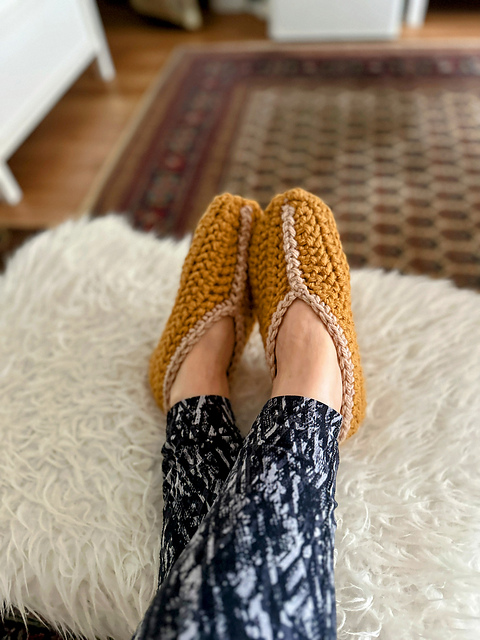
Slipper slides off my heel. The sides are too low or the heel cup is too shallow. Add 2 more rounds to the sides, or make the heel piece taller.
Toe feels cramped. You decreased too fast. Frog Rounds 7-12 and add an extra round of plain sc between decreases.
Sole is too thin / I feel every pebble on the floor. You crocheted too loosely. Next time use a 7mm hook for the sole only, or double-strand the yarn.
They stretch out after a week. Acrylic blend with no wool content stretches more. Add a round of tighter sc around the opening, or embrace the slouchy look. I call mine "relaxed fit."
What I Do With These Slippers
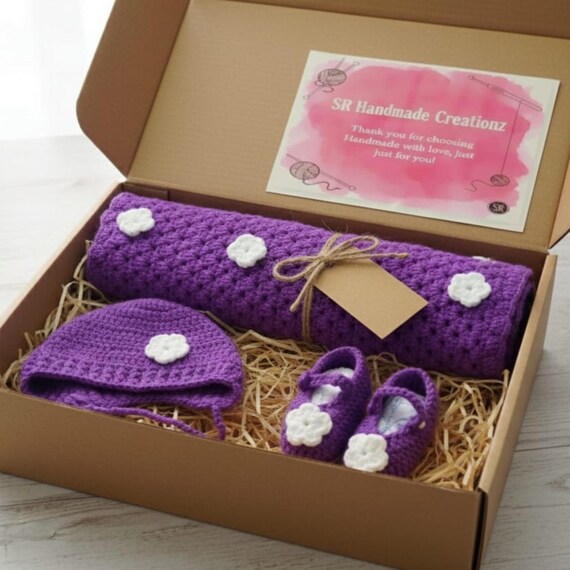
How I package slippers as gifts — kraft box, dried lavender sachet, tag with care instructions, baker's twine.
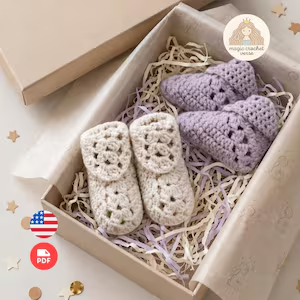
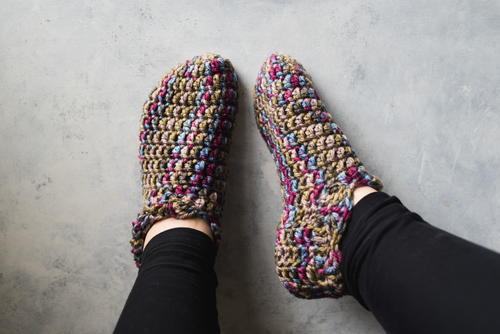
This is my new go-to housewarming gift. Everyone has enough candles. Nobody has handmade slippers.
I package them in a kraft box with a little sachet of dried lavender (from my garden, very fancy), a tag that says "hand wash cold, lay flat to dry, puffy paint soles," and baker's twine. Costs about $1 extra, looks like $20.
I've made six pairs so far:
- Oatmeal for me
- Gray for my mom
- Navy for my husband
- Burgundy for my sister
- Mustard for my best friend
- Second oatmeal pair for me because the first ones got "borrowed" by my husband
What's Next?
My second pair in progress — chunky yarn and a cozy evening ahead.
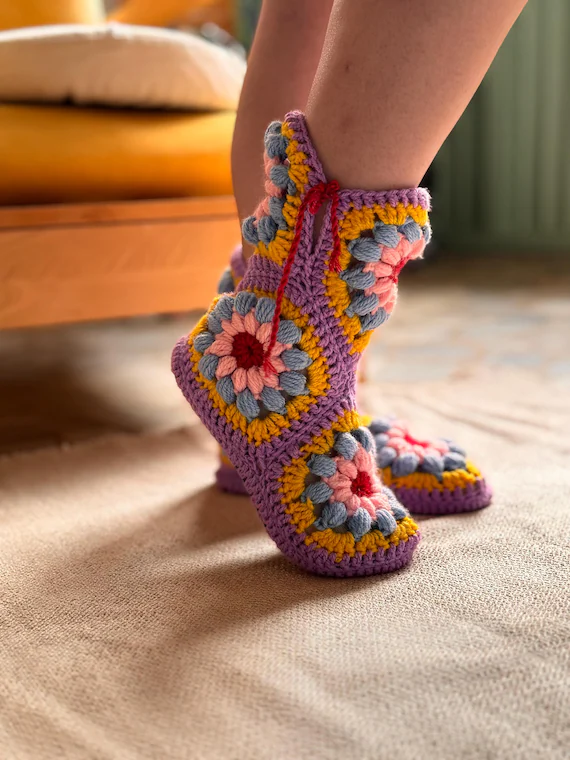
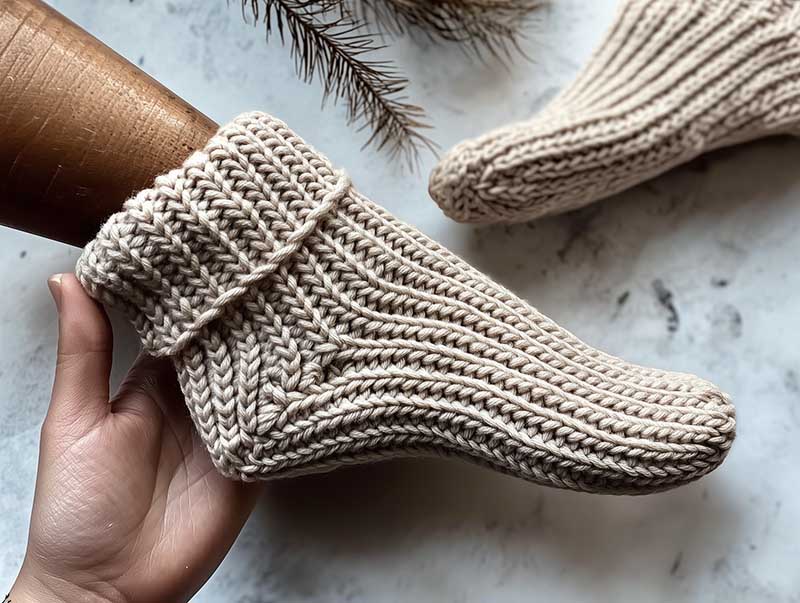
I'm already crocheting my second pair — olive green, with leather accents on the sole (pieces from an old purse my dog chewed up). Looks more expensive and interesting.
If you want something with a bit more flair, check out the Pineapple Slippers crochet pattern on Creative Fabrica. It's a paid pattern but absolutely gorgeous — textured pineapple stitch on the top, chunky yarn base, and they look like something from a boutique. Perfect step up from my basic beginner version. New users get 10 free downloads, so it's worth browsing while you're there.
How I Use These Slippers
My everyday cozy moment — handmade slippers, fuzzy socks, and a good book.
This is my daily uniform from October to March. Slippers on at 6 PM, off only when I go to bed. My husband laughed ("You crocheted yourself slippers?"), then asked for a pair in navy blue.
I gifted one to my sister — tucked a chocolate bar inside with a note that said "handmade, hand wash cold, lay flat to dry." She cried. Not sure if it was the gift or the washing instructions.
I have three pairs now: oatmeal, gray, and that olive work-in-progress. Planning to make a couple for my nieces by New Year's — I'll add unicorn patches, they'll lose their minds.
Pin This for Later!
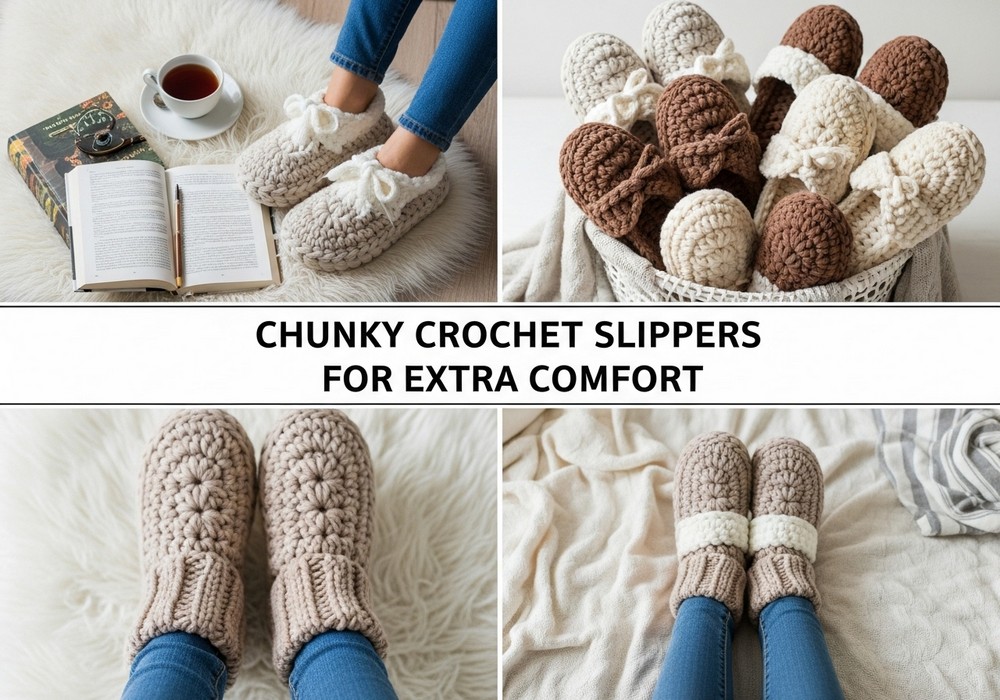
Save this free chunky crochet slipper pattern — perfect for weekend projects and handmade gifts!
Crochet boldly, don't be afraid to experiment, and remember: the best projects are the ones you can finish before bedtime. These slippers prove it.
YOU MIGHT ALSO LOVE