
I once made the mistake of choosing bright neon yarn for a winter beanie. It looked fun in the skein — all electric pink and highlighter yellow — but finished up looking more like a ski marker than something I'd actually wear. I gave it to my niece. She wore it ironically for one afternoon, then it disappeared into the bottom of a toy chest where neon things go to die.
That beanie taught me something expensive. The difference between a crochet beanie that looks boutique-bought and one that looks, well, made in a hurry has almost nothing to do with skill level. It has everything to do with a handful of choices most people make before they even pick up the hook.
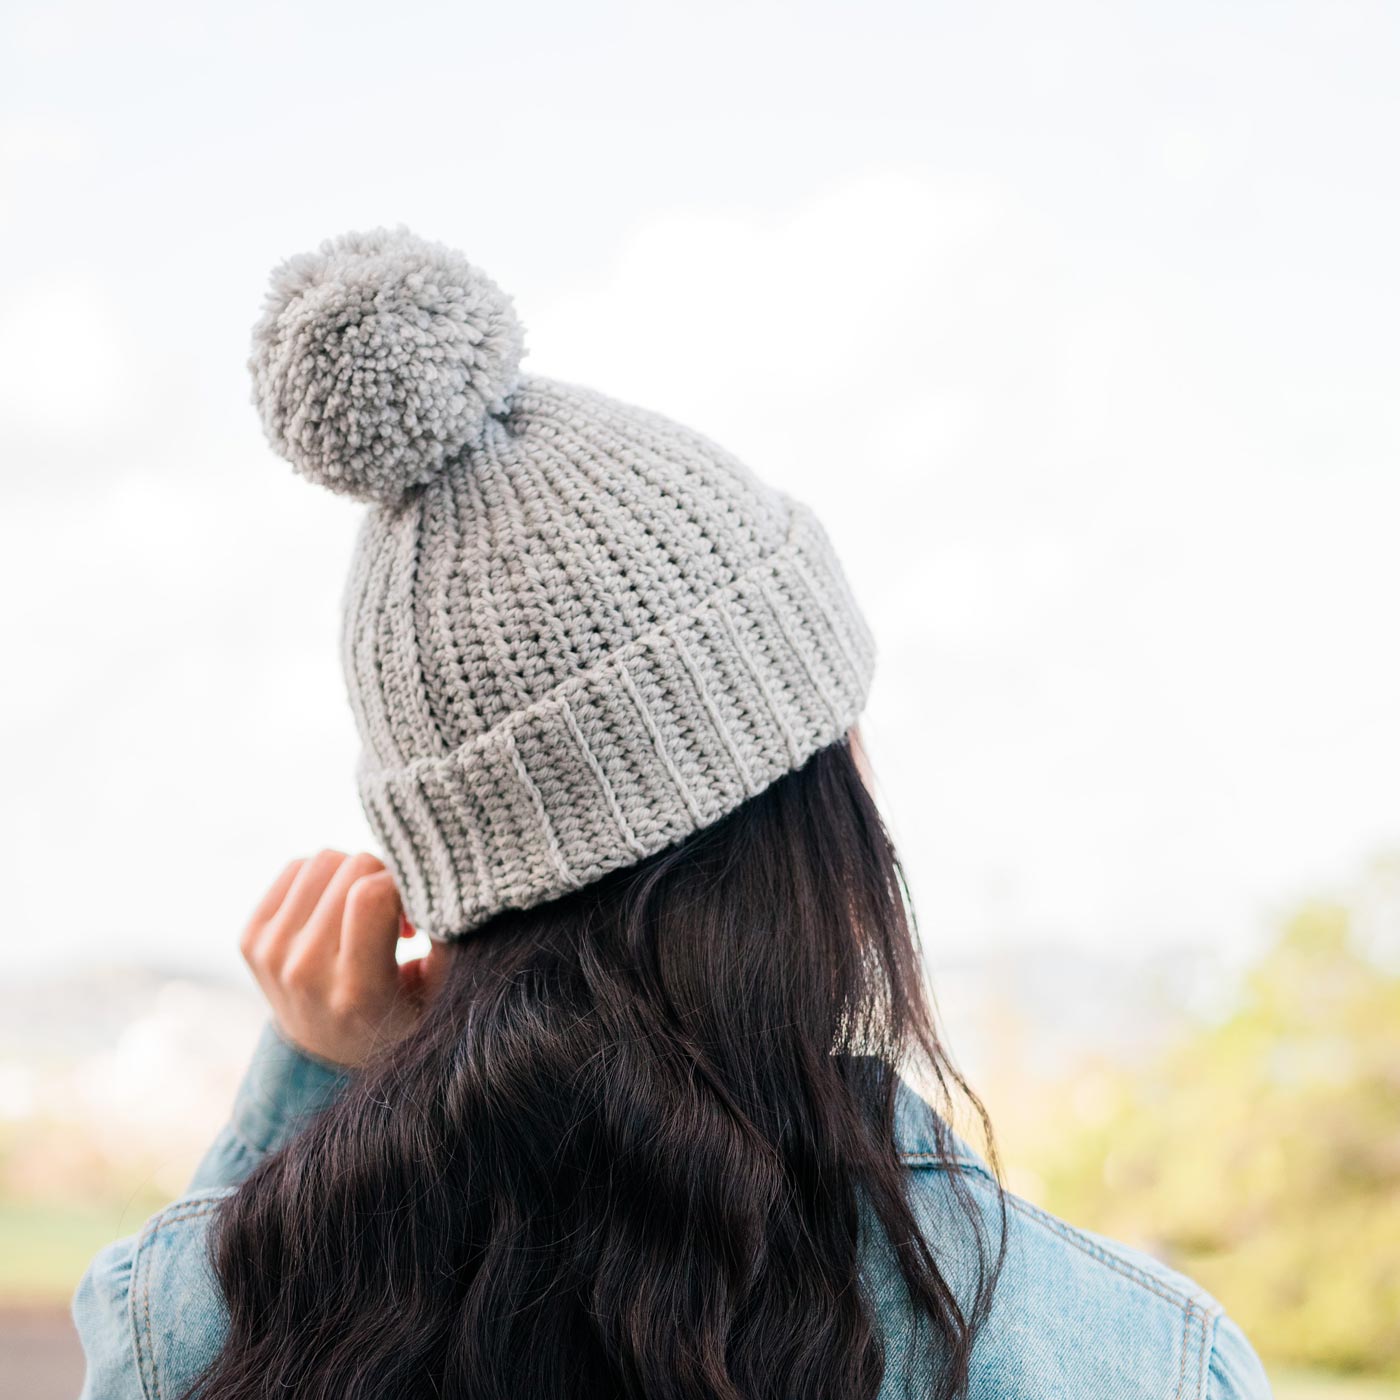
Below is not a catalog of twenty patterns you will never finish. It is one complete, step-by-step guide to a beanie that gets stopped-in-the-street compliments — plus the three mistakes that separate the $120 look from the craft-fair look.
3 Mistakes That Instantly Make a Handmade Beanie Look Homemade
Before we talk about what to do, let us talk about what to avoid. Because these three errors are so common, so invisible to the maker, and so obvious to everyone else.
Mistake 1: The Wrong Yarn Weight
I see this constantly in crochet groups. Someone buys the prettiest variegated worsted-weight yarn, works it up in double crochet with a 6 mm hook, and ends up with a fabric full of holes. You can see their scalp through it. The wind goes straight through. It looks like a fishing net that gave up.
The fix: Use worsted-weight yarn with a 4.5 mm or 5 mm hook, and work in half-double crochet or a textured stitch. The fabric should be dense enough that you cannot see daylight through it when you hold it up. If you can see through your beanie, so can everyone else.
Mistake 2: The Crown That Points
You know the shape. The beanie fits fine around the forehead, but the top comes to a gentle nipple. A soft cone. A wizard hat that lost its ambition. This happens when you decrease too slowly — too many rounds of gradual reductions — or when you stop increasing too early and the crown is not deep enough.
The fix: The crown should be a smooth dome, not a cone. We will get to the exact math in a moment, but the visual test is simple: when you lay the finished beanie flat, the crown should form a gentle curve, not a peak.
Mistake 3: No Blocking
This is the invisible killer. You finish the beanie, weave in the ends, slap on a pom-pom, and take a photo. But the stitches are uneven. The brim rolls. The crown has a dent from where your tension changed after a coffee break. Unblocked crochet is like unironed linen — technically functional, visually exhausted.
The fix: Every beanie must be blocked. Every single one. We will cover exactly how in the finishing section.
The One Thing Luxury Brands Almost Never Do
Here is a secret from the $120 beanies hanging in boutique windows: they rarely use complicated stitches. Walk into any high-end store and pick up a knit beanie. It is usually ribbed. Maybe a simple cable. Nothing fussy. The luxury comes from the material, the density, and the fit — not from a stitch dictionary that requires a PhD.
Crochet can achieve the same effect, but we have to be honest about our limitations. Crochet is naturally thicker and more textured than knitting. A simple half-double crochet beanie in good yarn will always look more expensive than an overcomplicated beanie in cheap acrylic.
So here is the rule: Choose one simple stitch. Execute it perfectly. Let the yarn do the talking.
Step-by-Step: The Only Beanie Pattern You Need
This is a fitted adult beanie with a folded brim and a smooth dome crown. It works for men and women. It takes 3 to 4 hours. It uses one skein of worsted-weight yarn — approximately 150 to 180 meters.
What You Need
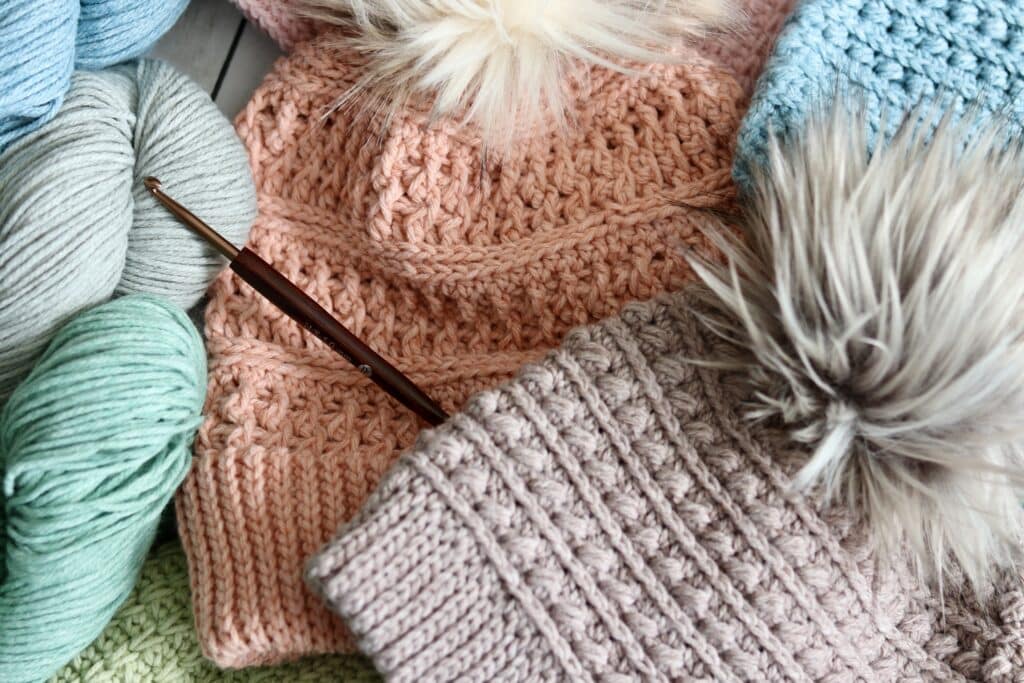
- Yarn: Worsted-weight merino or merino-acrylic blend, 150–180 m. Color suggestion: oatmeal, charcoal, dusty rose, or forest green. Avoid neon. Avoid heavy variegation.
- Hook: 4.5 mm (US 7) or 5 mm (US 8). Use the smaller hook if you tend to crochet loosely.
- Stitch marker: Essential. You will work in continuous rounds.
- Tapestry needle: For weaving in ends.
- Optional: Faux fur pom-pom with a snap button.
Gauge
Work a swatch: 10 half-double crochet stitches × 8 rows should measure approximately 5 cm × 5 cm (2 in × 2 in). If your swatch is larger, go down a hook size. If it is smaller, go up. Do not skip this. A beanie that is 2 cm too wide will slide down over your eyes.
The Brim (Ribbed Fold)
The brim is worked in front-post and back-post double crochet to create a stretchy, knit-like rib.
Round 1: Chain 9. Starting in the second chain from the hook, work 1 half-double crochet in each chain across. You now have 8 stitches. Chain 1, turn.
Round 2: Working in the back loop only, half-double crochet in each stitch across. Chain 1, turn.
Repeat Round 2 until the brim strip measures approximately 48 to 52 cm (19 to 20.5 in) unstretched. This is slightly smaller than the average adult head circumference (54 to 57 cm) because the rib will stretch.
Join: Fold the strip in half lengthwise and slip-stitch the ends together to form a ring. Do not twist. You now have a ribbed cuff.
The Body
Round 1: Work 72 half-double crochet stitches evenly around the top edge of the brim. Place a stitch marker in the first stitch. Work in continuous rounds — do not join with a slip stitch, do not chain between rounds. Just keep spiraling upward.
Rounds 2 through 18: Half-double crochet in each stitch around. Move the stitch marker up every round. Work until the piece measures approximately 17 cm (6.75 in) from the base of the brim to your current round. For a slouchier fit, work 20 to 22 rounds instead of 18.
Visual check: Try it on. The body should cover your ears and reach the crown of your head. If it stops short, work two more rounds.
The Crown Decreases
This is where most beanies go wrong. We are going to decrease 8 stitches per round for the last 5 rounds. This creates a smooth dome, not a cone.
Round 19: Half-double crochet in 7 stitches, half-double crochet 2 together. Repeat around. You now have 64 stitches.
Round 20: Half-double crochet in 6 stitches, half-double crochet 2 together. Repeat around. You now have 56 stitches.
Round 21: Half-double crochet in 5 stitches, half-double crochet 2 together. Repeat around. You now have 48 stitches.
Round 22: Half-double crochet in 4 stitches, half-double crochet 2 together. Repeat around. You now have 40 stitches.
Round 23: Half-double crochet in 3 stitches, half-double crochet 2 together. Repeat around. You now have 32 stitches.
Final round: Half-double crochet 2 together around until you have 8 stitches remaining. Cut the yarn, leaving a 20 cm tail. Thread the tail through the remaining stitches with a tapestry needle, pull tight, and weave the end into the inside of the crown.
Why Expensive Beanies Always Look Softer
Have you ever noticed that boutique beanies have a drape and evenness that handmade ones often lack? It is not the machine. It is the blocking.
Blocking is the difference between "I made this" and "Where did you buy this?" Here is how to do it properly for a beanie.
Method: Fill a bowl with lukewarm water and add a drop of wool wash or mild shampoo. Submerge the beanie completely. Let it soak for 15 minutes. Do not agitate. Lift it out, press gently between two towels to remove excess water — do not wring. Now stretch the beanie over a balloon, a bowl, or a foam head form that matches your head size. Smooth the fabric with your hands. Let it air dry completely. This can take 24 to 48 hours.
What blocking does: It evens out tension variations. It sets the stitches. It gives the brim a professional, store-bought roll. It transforms lumpy handmade into intentional artisanal.
The steam shortcut: If you are impatient, pin the damp beanie to a form and hold a steam iron 5 cm above the surface. Do not touch the iron to the yarn. The steam relaxes the fibers instantly.
The Pom-Pom Secret
A pom-pom is not childish. It is architecture. It adds vertical height, draws the eye upward, and turns a simple hat into a personality. But there is a right way and a wrong way.
The snap-button trick: Sew a small metal snap to the crown of your beanie and another to the underside of a faux fur pom-pom. This allows you to remove the pom-pom before washing — and lets you swap colors to match your coat.
Placement: The pom-pom should sit dead center on the crown, not slightly off like a satellite dish. Sew through the center hole of the crown decreases, not just the surface loops. A pom-pom that falls off after three wears is a tragedy easily avoided.
Size: For an adult beanie, use a pom-pom between 10 and 15 cm (4 to 6 in) in diameter. Smaller looks apologetic. Larger looks like you are wearing a pet.
Sizing for Everyone (Without Another Table)
If you are making this for someone else, here is how to adjust without drowning in charts.
For a smaller head (teen or small adult): Start with a brim that measures 46 cm unstretched, and work 64 stitches around the top edge instead of 72. Decrease by 8 stitches per round as written, but start the decreases one round earlier.
For a larger head: Start with a brim that measures 54 cm unstretched, and work 80 stitches around the top edge. Begin decreases at Round 20 instead of Round 19.
For a child (4 to 10 years): Work the brim to 40 cm, then work 56 stitches around the top. Begin decreases at Round 14.
For a toddler: Work the brim to 36 cm, then work 48 stitches around the top. Begin decreases at Round 12.
The formula is always the same: the brim circumference should be 5 to 8 cm smaller than the actual head. The body height should reach the crown of the head before you start decreasing. The decreases should remove 8 stitches per round for the last 5 rounds.
The Final Fold

I have made maybe thirty beanies. The ones I still wear — the ones that get compliments from strangers in coffee shops — are never the complicated ones. They are the simple half-double crochet beanies in oatmeal merino, blocked properly, with a faux fur pom-pom that snaps on and off.
The complicated ones live in a drawer. The simple ones live on my head.
You do not need twenty patterns. You need one pattern, executed well, in yarn that feels like it belongs near your skin. You need to block it. You need to weave in the ends like you are hiding evidence. And you need the confidence to say, when someone asks where you bought it: I made it.
That is always the better answer.